 Hi, I go by the name Nick, 19 and a TESLian. Been blogging since 2010. Thank you for stopping by, feel free to leave me a message. *click the arrow below*
So mae asked me to do this tutorial. I'm sorry it took me so long, I should've post it last night, but horror movies happenes so yeah. Well, let's get it started shall we? You can get the PSDs here; hityourheart
- First, click Ctrl + O to open the image that you want to edit. The very first thing to do is, go to Image> Adjustment> Exposure. Make it, (-0.0333). Then click ok.

- Now, click Ctrl + O to open your psd. A new tab will pop up, then just click "Keep layers", the psd will be opened.

- See that? Grab the "Group 1" to the photo that you want to edit. In this case, I grabed it towards Hyukjae.

- Tada! Did you see the difference?

- Now you can close the psd tab. Then go to Layer> Flatten Image. So that the file won't be in PSD file, but instead it will change to PNG or JPEG file.
- One final touch to make the photo looks better, click Image> Adjustment> Exposure. Make it (+0.333) Or as much as you want! Then c1lick save as, and then done! I prefer saving it in PNG file btw. Oh wait! There's a bonus for you! This is texture. Save this photo.

- Then open the texture.

- Click Ctrl + A, then Ctrl + C to copy it. There will be lines(garis putus-putus lmfao) like this around your texture photo.

- Click Ctrl + V on your edited photo, paste the texture on it. The texture will cover your edited photo.
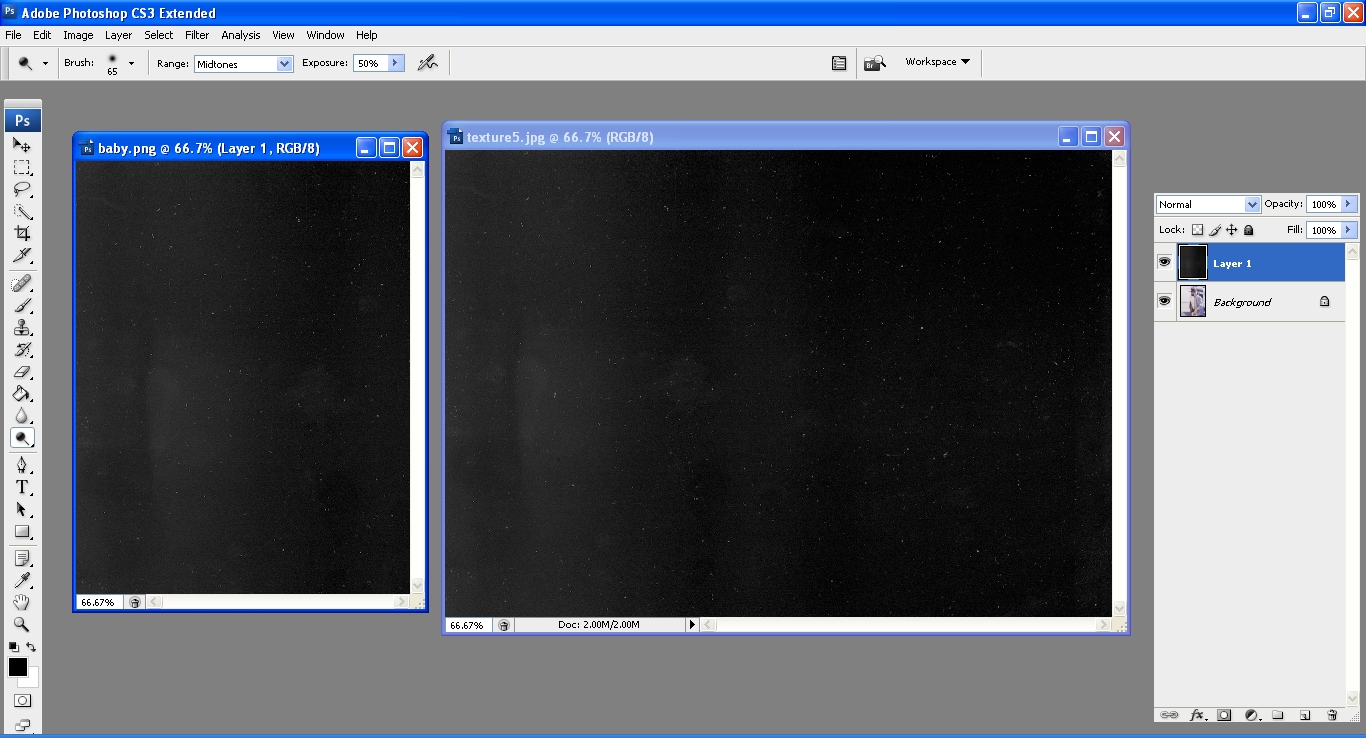
- Close the texture tab. See that "Normal"? Choose "Screen". You'll see some changes. Then flatten the image just like I told you before. Lastly, save the photo as PNG file!

- Tada! THIS IS THE RESULT!

- And these are the photos that I edited! If you need more help, let me know alright?
